NAME
App::GUI::Harmonograph - sculpting beautiful circular drawings
SYNOPSIS
read this POD
start the program (
harmonograph)move knobs in tabs and observe preview sketch reacting til settings are interesting
push Draw (right below drawing board or
Ctrl+DorAlt+Dor in Image menu) to produce a full imagechoose in image menu output size (in pixel) and output format. Then select there Save (or
Ctrl+S) to store image in a PNG / JPEG / SVG file.choose Write in settings menu (
Ctrl+W) to save settings into an INI file. Load it from there later to restore settings for further tweaking.
Please note that color changes do not trigger a new preview sketch and if you sketch is not visible, it is most likely due the combination in LINE SETTINGS of line being off (dots only), dot thinkness is low and dot density being also low.
After first use of the program, a config file will be created under ~/.config/harmonograph in your home directory. It contains mainly stored colors and dirs where to load and store setting files. You may change it manually or deleted it to reset defaults.
DESCRIPTION
An Harmonograph is an apparatus with several connected pendula, creating together spiraling pictures :
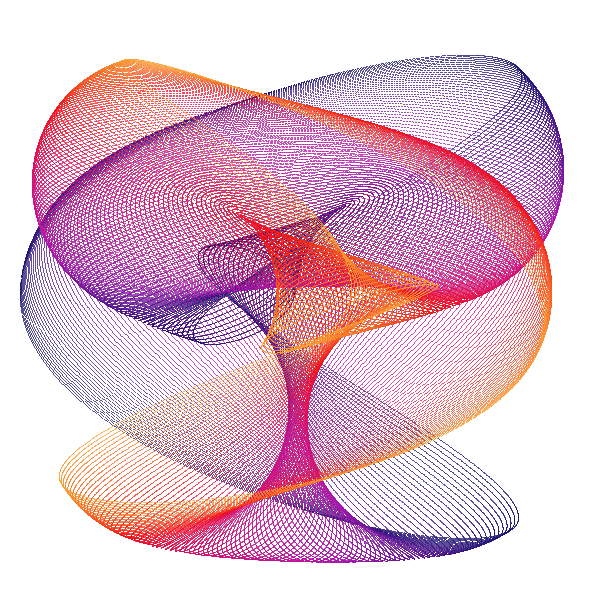
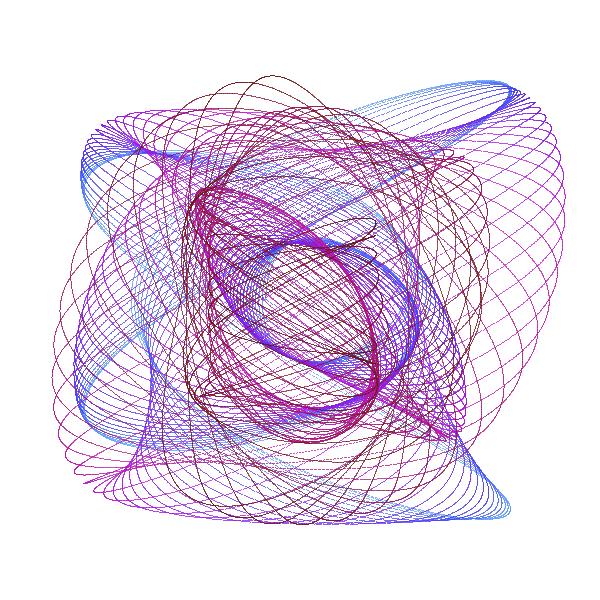
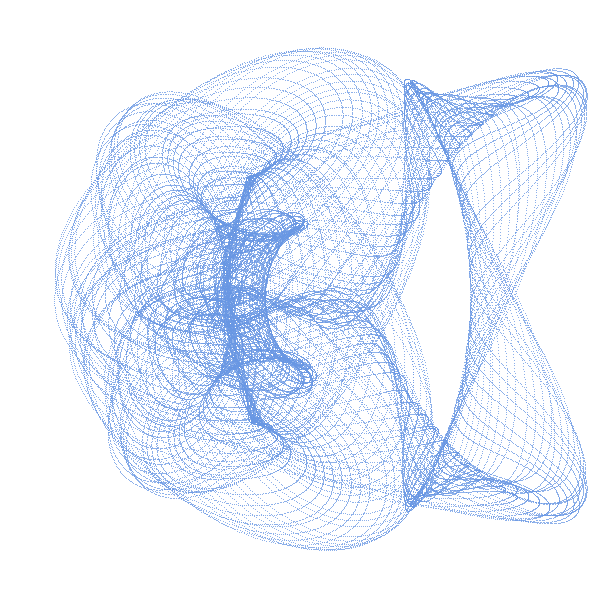
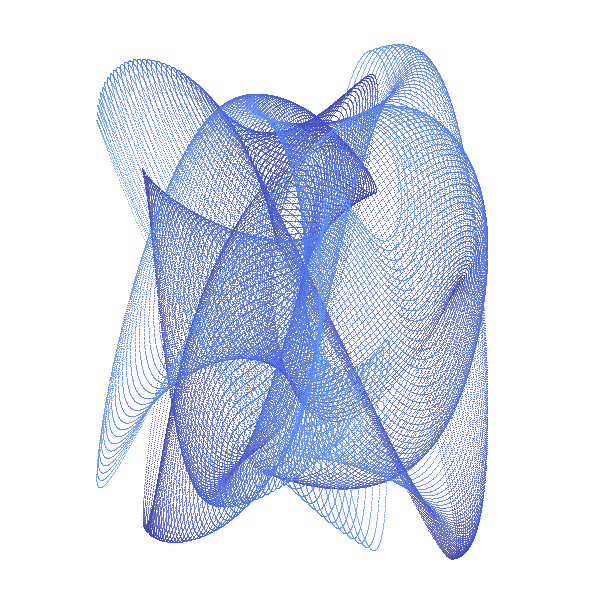
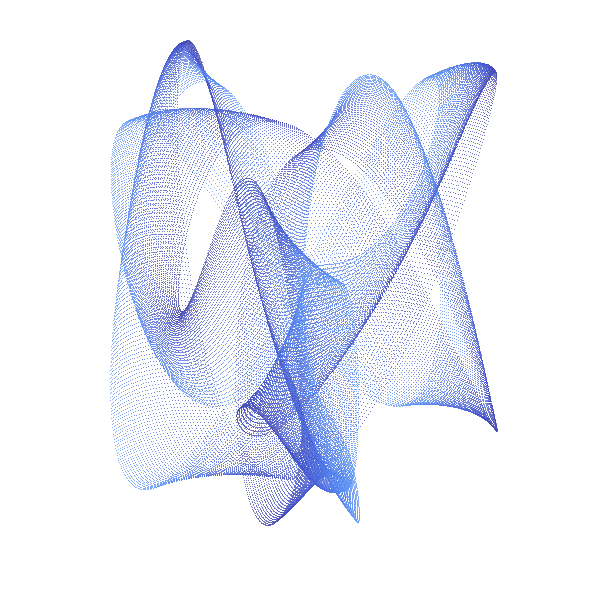
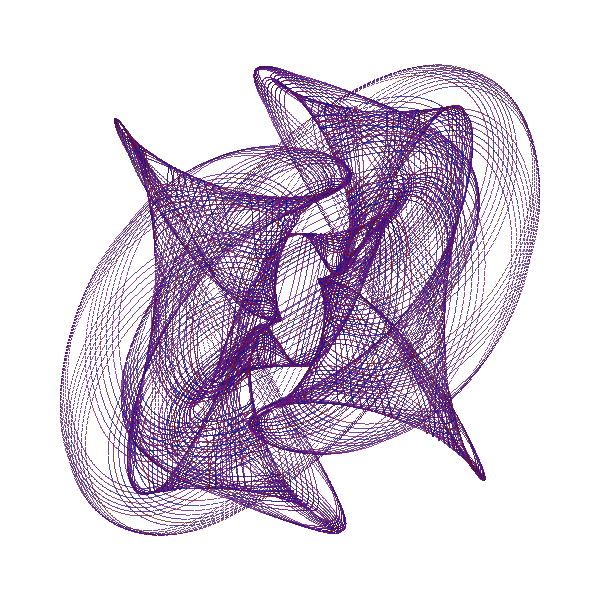
This is a cybernetic recreation of an Prof. Blackburns invention with several enhancements:
third pendulum can rotate
pendula can oscillate at none integer frequencies
separate complex amplitude and frequency damping
draw lines or dots with changeable density and size
3 types of color changes with changeable speed and polynomial dynamics
Mechanics
The classic Harmonograph is sturdy metal rack which does not move while 3 pendula swing independently. Let us call the first pendulum X, because it only moves along the x-axis (left to right and back). In the same fashion the second (Y) only moves up and down. When both are connected to a pen, we get a combination of both movements. As long as X and Y swing at the same speed, the result is a diagonal line. Because when X goes right Y goes up and vice versa. But if we start one pendulum at the center and the other at the upmost position we get a circle. In other words: we added an offset of 90 degrees to Y (or X). Our third pendulum Z moves the paper in circulating manner and but not rotating the paper around its center. If both circular movements (of X, Y and Z) are concurrent - the pen just stays at one point over the paper. If both are countercurrent - we get a circle. Interesting things start to happen, if we alter the speed of of X, Y and Z. Than famous harmonic pattern appear. And for even more complex drawings I added R, which is not really a pendulum and not part of the original harmonograph, but an additional rotary movement of Z around its center. The pendula out of metal do of course fizzle out over time, which you can see in the drawing, in a spiraling movement toward the center. We emulate this with two damping factors: one for amplitude and one for the frequency (speed).
GUI
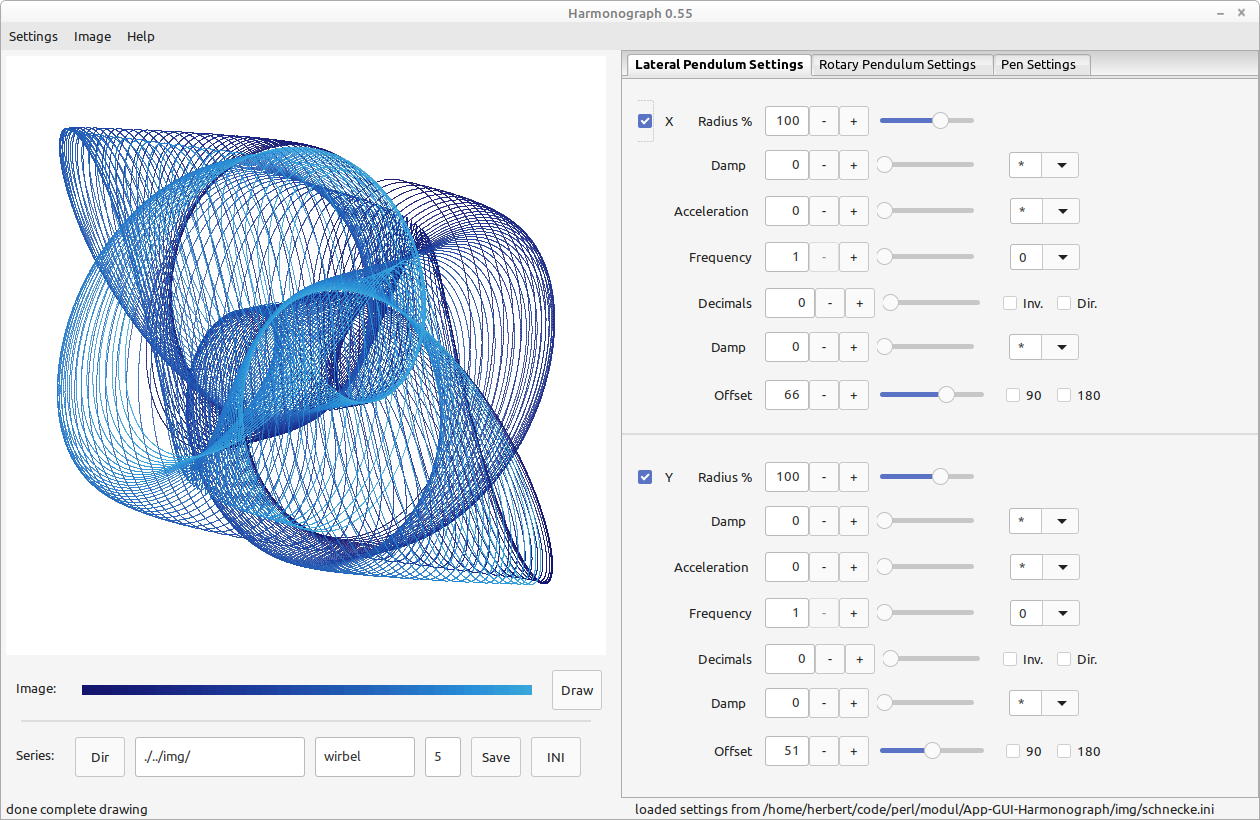
The general layout of the program has three parts, which flow from the position of the drawing board.
In the left upper corner is the drawing board - showing the result of the Harmonograph.
The whole right half of the window contains the settings, which guide the drawing operation. These are divided into four tabs - roughly devided in form (3) and decoration (last one).
In the lower left corner are two rows of command buttons. All other commands are in the menu. The upper row is just for drawing and the lower for image mass production more under "Commands".
Please mind the tool tips - short help texts which appear if the mouse stands still over most widgets. Also helpful are messages in the status bar at the bottom - on bottom left regarding current state of the image and bottom right about state of the settings. Settings are all the parameters of the image, that are dialed in via widget in the tabs. Configuration are the general settings of this program, which are mostly saved colors and paths were to store images and settings.
When browsing the main menu, help texts about the highlighted item also appears in the status bar. The Menu can be completely navigated with the keyboard. Just hold Alt and use the direction keys (up, down, left and right) or the highlighted letters. When holding the Alt key you can also see which Alt + letter combinations trigger which button.
Pendulum
Each of the first two tabs contains the settings of two pendula. The first tab has the lateral pendula: X (left right movement) and Y (up and down). The second tab has Z (wobble - moving the center of the paper in rotating movement around the center of the space without rotating the paper) and R (actual rotation around center of the pater). Most settings can be changed with a combo-slider which allows input by typing, moving the slider or fine tuning the value by pushing the minus and plus buttons. The settings for each pendulum are identical and are as follow:
Each pendulum section starts with the name of the pendulum, but in front of that (tothe right) is a checkbox to (de-)activate the entire pendulum. The first row lets you dial in the speed (frequency). This is most fundamental to the shape of the drawing. For instance 2 means that the pendulum swings back and fourth twice as fast. To the right you can choose an additional factor the frequency gets multiplied with. This can be a constant like Pi or Phi or the frequency of another pendulum or just simply one. This is especially handy when browsing the classic shapes with three pendula. For these the frequency of X and Y has to be the same - which will be ensured when you set the frequency factor of Y to X (or vice versa) and keep the frequency of the connected pendulum to one. The next combo control below adds decimals to the frequency value for more complex rotating drawings. Behind that are two check boxes to invert the final frequency value to 1/x or to flip the direction of the pendulum. Below that follows a frequency damping, which will change the frequency over time. To the right of that value you can set the damping mode. Set it to minus for linear damping or to "*" for accelerated damping. the same as the second row only with slightly different optical results.
The fourth row starts with a slider to fine tune the starting point of the pendulum. It can be chosen between zero and a quater rotation. This can have great effects on the shape. Because of the special desirability offsets of an half (180 degree) or quarter (90 degree) rotation can be activated by checkbox (to the right of the slider). The final offset is the sum of the checked with the slider value.
The fifth row is the amplitude size, which simple allows to make the picture larger or smaller depending if the pendulum left the frame or doesn't move enough. As with reqency, also the amplitude can be damped over time and this damping can accelerated.
Mod Matrix
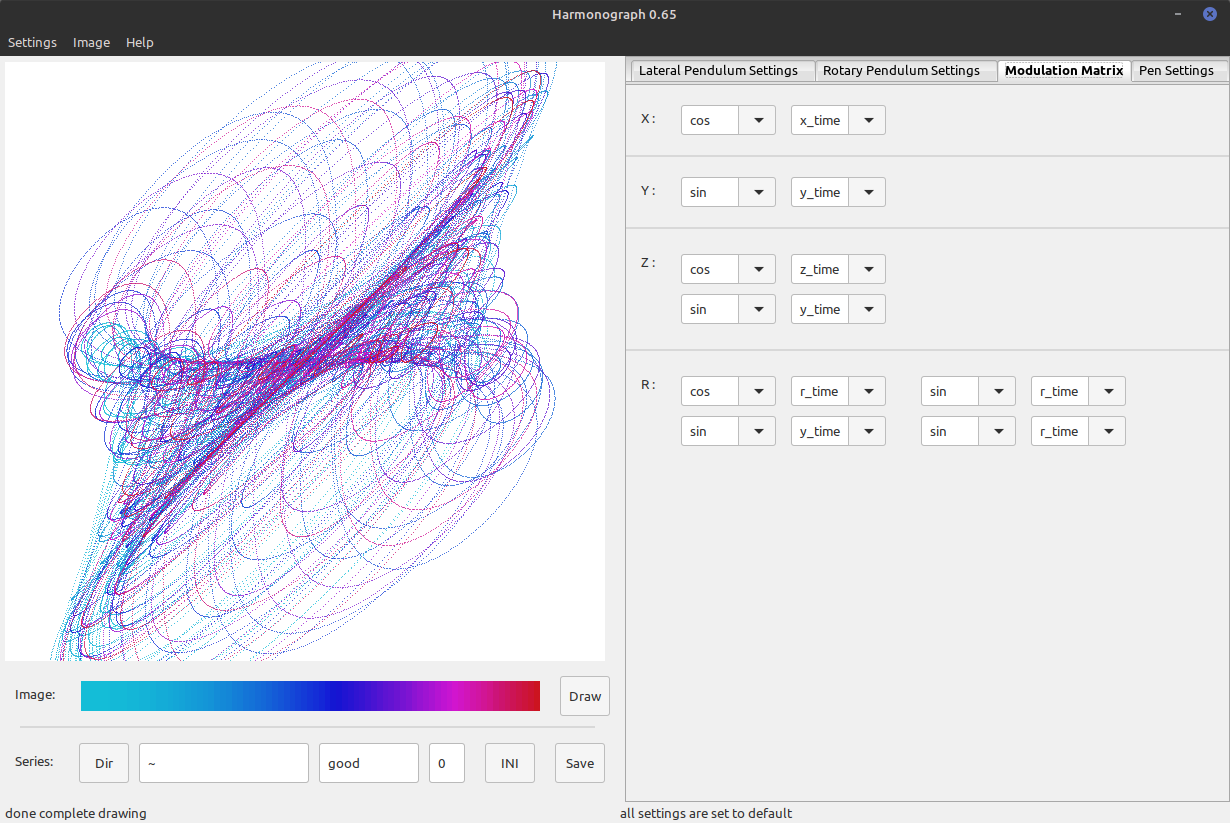
The third tab allows the deepest alterations to the drawing, which leaves the original concept of a Harmonograph. For instance the X - Pendulum is basically a little more than the a cosine function to the time variable. The time variable represents the frequency since we simulate a double frequency by doubling the speed time passes for this pendulum. If you change the function from cosine (cos) to tangent or other trigonometric functions the shapes will change redically. Same goes for Y and Z which is computation wise just a combination of X and Y applied to a offset. R is different since its computed with a rotation matrix. But in same manner as X or Y you can change here for each cell of the matrix the variable and the function that computes on that variable. Please note the most beautiful examples were computed by changing the variable of just one cell of the rotation matrix.
Pen Settings
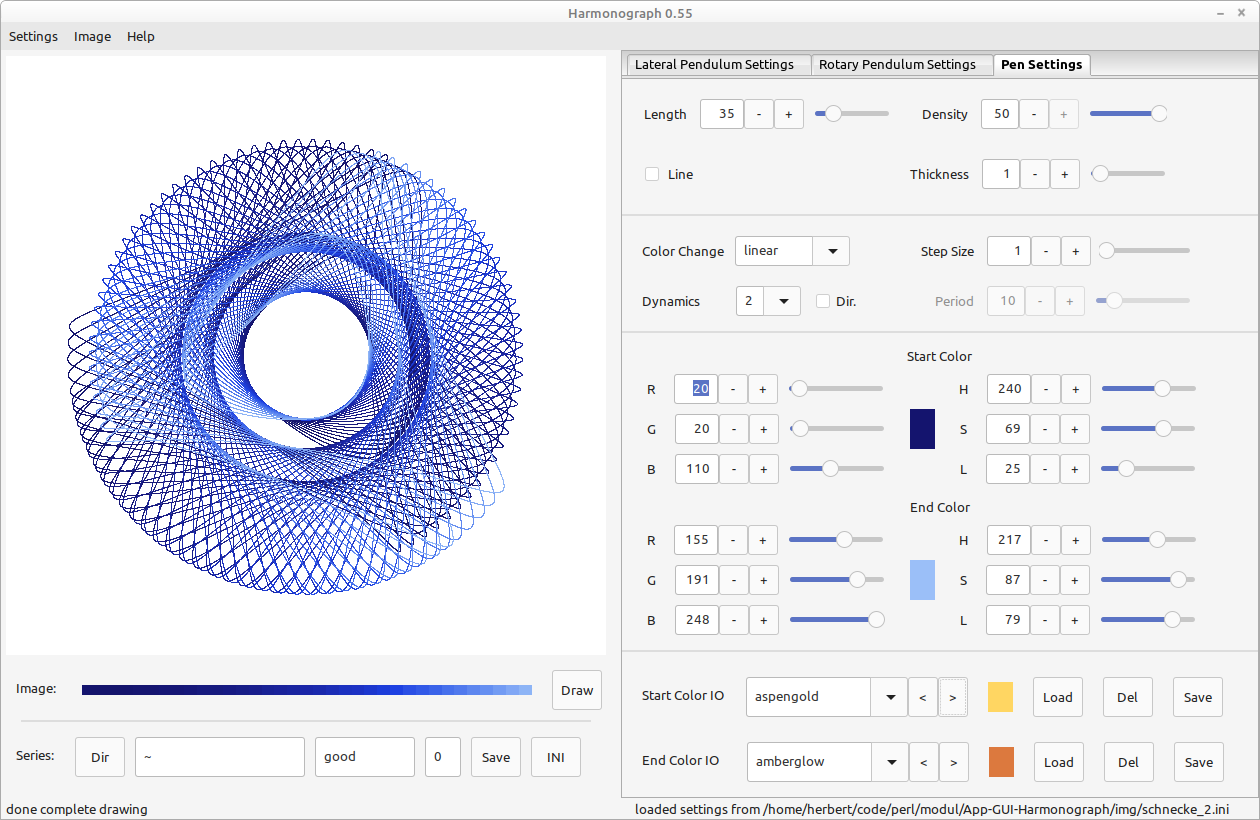
The last tab on the right contains the visual properties (of the pen). In left upper corner yo set the amount of rotations (swings) to be drawn. Right beside is the distance between dots. Greater distances, together with color changes, help to clearify muddled up drawings. Also - many rotations and little distance between dots will slow down the computation. In the second row left is a checkbox to answer if the dots should be connected. The fourth selector sets the dot size in pixel. Zero mens here very thin = one half of an pixel - which is still visible, but very airy.
Colors
On the lower part of the pen settings tab are the are the options for colorization and this has in itself three parts. Topmost are the settings for the color change, which is set on default to no. In that case only the upper start color (below the color change section) will be used, and not the end color (target - which is even below that).
Both colors can be changed via controls for the red, green and blue value (see labels "R", "G" and "B" ) or hue, saturation and lightness (HSL). The result can be seen in the color monitor at the center of a color browser.
An one time or alternating gradient between both colors with different dynamics (first in second row) can be employed. Circular gradients travel around the rainbow through a complement color with saturation and lightness of the target settings. Steps size refers always to how maby circles are draw before the color changes.
The third part of the tab grants you access to the color section of the config file .harmonograph. There you can store your favorite colors under a name and reload or delete them later. The upper row is for interactions with the start color and the lower with the end color.
Commands
In the lower left corner are two rows of command buttons. All other commands are in the menu.
The lower left part of the window contains buttons in two rows. The upper row is just for drawing the complete image. It has a progress bar and the draw button. If the progress bar is white, you see just a sketch drawing - a preview of the full image that can be computed fast enought to react to all setting changes. If you push the draw button (or <Ctrl>+<S>), you will get a full image and the progress bar has the color of the drawing and also can show you the color progression over time, so you can see, which are the early and the later parts of the drawing.
The second button row is for easy mass production of drawings. The three text fields are combined the parts of the file path. The first text field is naturally the directory where the files get saved. You can change it by pushing the Dir in front (left) of the text button and use the then opening Dir-Dialog to select another directory. The second text field holds the base file name, which has to be inserted by clicking on in and typing. The third text field is the file number and is readonly. That counter increments automatically when a file is generated. The complete file path is <dir>+<base name>+'_'+<counter>+<file ending>. The file ending is .ini for setting files and .jpg or .png or .svg for image files. The exact ending depends on what is the current configuration set in the image > format menu. Lets say your directory is "/home/user/images/h" and the base file name is beauty. If there is already a file "/home/user/images/h/beauty_4.png" - the program will detect that and set the counter to 5. You can play with the settings and than (no matter if there is currently a complete drawing or not) push the Save button to produce a complete drawing into "/home/user/images/h/beauty_5.png". If you push the INI button you safe the current settings into "/home/user/images/h/beauty_5.ini". This file can later be loaded via settings menu to restore the current state of all buttons in the tabs.
Menu
The upmost menu bar has only three very simple menus. Please not that each menu shows which key combination triggers the same command and while hovering over an menu item you see a short help text the left status bar field.
The first menu is for loading and storing setting files with arbitrary names. I recommend giving them the file ending .ini for transparency reasons. A submenu allows a quick load of the recently used files. The first entry lets you reset the whole program to the starting state and the last is just to exit (safely with saving the configs).
The second menu has only two commands for drawing an complete image and saving it in an arbitrary named PNG, JPG or SVG file (the file ending decides). The submenu above only sets the preferred format, which is the format of the serially save images by the command buttons in the left lower corner. The preferred file format is also the first wild card in the save dialog. Above that is another submenu for setting the image size.
The third menu has only one item to oben the about - dialog, where you can see which perl, Wx and other versions you are currently using.
SEE ALSO
AUTHOR
Herbert Breunung (lichtkind@cpan.org)
COPYRIGHT & LICENSE
Copyright(c) 2022-23 by Herbert Breunung
All rights reserved. This program is free software and can be used, changed and distributed under the GPL 3 licence.